When you click on links to various merchants on this site and make a purchase, this can result in this site earning a commission. Affiliate programs and affiliations include, but are not limited to, the eBay Partner Network.
Price: $295.99
APPLICATION:69-74 Blazer, Suburban/Jimmy, Carryall, Yukon, & 1-Ton Crew Cab (2WD) 265-40063-74 1/2 Ton, 3/4 Ton, & 1 Ton Truck (2WD) 265-400
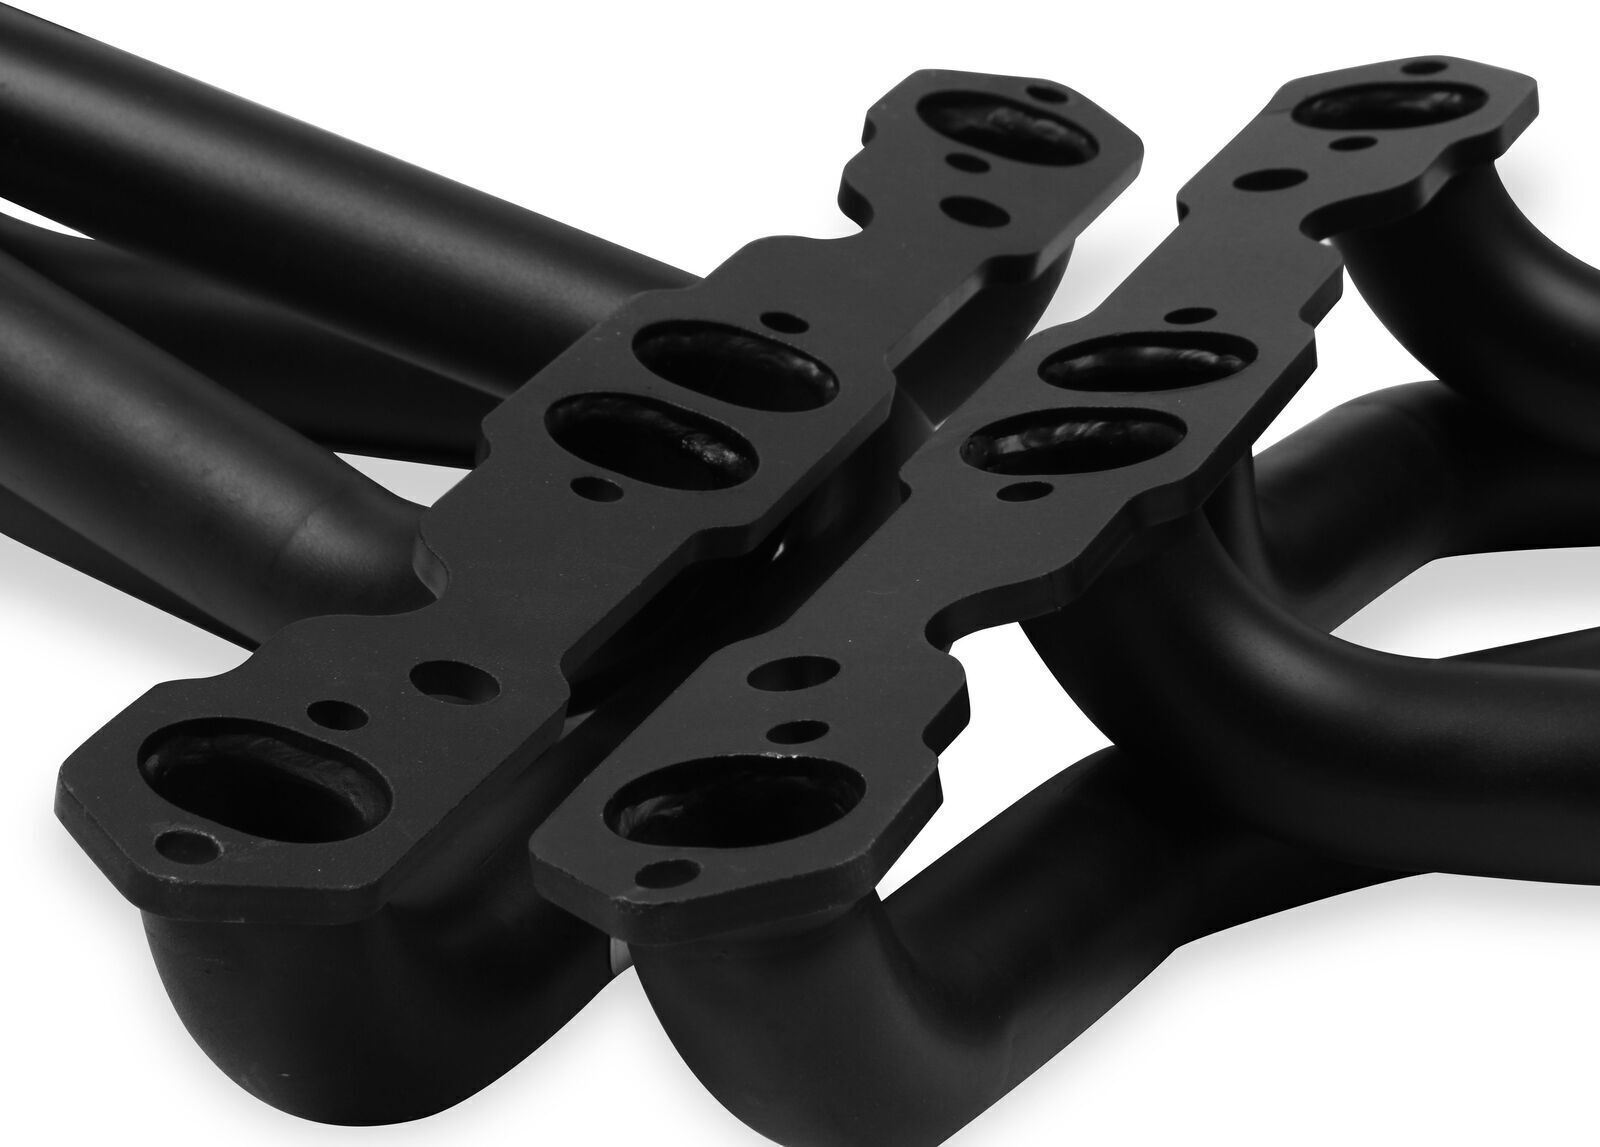
- Tuned-length primary tubes for better performance
- Mandrel-bent tubing for smooth exhaust flow
- Light weight & sturdy 16 gauge tubing
- Long transition collector for decreased back pressure
- 5/16” machined flanges for a perfect seal
- Industry’s best welds for durability
- Designed for easy, trouble-free fit
- All necessary hardware included for a complete installation
- Works with factory power steering, power brakes and air conditioning
INSTALLATION PROCEDURE: PLEASE READ THOROUGHLY & CAREFULLY!
BEFORE STARTING
Your vehicle must be raised a minimum of 36 inches. A floor hoist is ideal. If no hoist is available we strongly urge the use of axle stands as a safety measure.
CAUTION! Your car should not be supported on a bumper jack prior to installing headers, take the time to make a careful and complete inspection of both engine and transmission mounts. Replace them if they look worn or damaged, otherwise this may affect the header fitting into your vehicle properly.
LEFT SIDE
1. Disconnect the battery cable to prevent damage to the electrical systems.
2. Unbolt the headpipes (both sides) and remove from the truck.
3. Remove the stock exhaust manifold, oil filter, spark plugs, dipstick and dipstick tube. Manual transmission models will need to remove the clutch linkage.
4. If the alternator/generator or air conditioning compressor is mounted on the head, remove it.
5. Starting from below, work the header up through the chassis into position over the exhaust ports. Insert the gasket between the head and the flange. Start all header bolts (most restricted first) and tighten evenly.
6. Replace the oil filter, spark plugs, dipstick, dipstick tube, and clutch linkage (if removed).
NOTE: A) 1967 models – Modify the clutch linkage (Figure A).
B) Late models – May require shift linkage modifications for adequate header clearance (Figure B).
C) Models with generator/alternator on the left side must purchase JT bracket (Figure C).
D) Models with power steering – May require the installation of the supplied spacer for remounting the pump bracket (Figure D).
E) To replace the air conditioning compressor, use the supplied bracket (Figure E).
RIGHT SIDE
1. Remove the stock exhaust manifold, spark plugs, and starter.
2. If the generator/alternator and/or air conditioning compressor are mounted on the head, remove them.
3. Starting from below, work the header up through the chassis into position over the exhaust ports. Insert the gasket between the flange and the head. Start one bolt to hold in place.
4. With the header loose, install the starter. Start the remaining header bolts (most restricted first) and tighten evenly.
5. Replace the spark plugs. If the generator/alternator and/or air conditioning compressor was removed, use the purchased bracket to remount (Figures C and/or E).
6. To connect the collector to your stock exhaust system, purchase the reducer kit. Position the gasket and the bolt
the reducer to the collector. Cut the head pipe to the correct length and weld the reducer.
NOTE: Finish the performance job your headers started by adding a competition dual exhaust system. Large 2 1/4” diameter tubing is mandrel bent, not press bent. Mandrel bending maintains a consistent inside diameter form maximum flow; press bending will crush the pipe, easily reducing volume by more than 10%.
7. Connect the battery, start the engine, and check for leaks. Be sure that all brake lines, fuel lines, and electrical wires have sufficient clearance. Reroute, as necessary.
8. When finished, give your car a test drive, checking carefully for any new noises. After several days of driving, retighten all the bolts.
NOTICE:
Does not fit with angle plug or raised port heads. Breaking in an engine with ceramic coated headers WILL result in damage to the coating and will VOID all warranties. JT recommends using cast iron exhaust manifolds or old headers during your engine break-in period to avoid damaging your coated damage. The use of header wraps can cause the header tubes to crack or rust due to excessive heat and moisture build-up. JT does not recommend the use of header wraps as this will void the warranty. JT long tube headers do not come with header reducers.